Intro
When you make a web app, it may be necessary to have the website be available in multiple languages. One common use case is a webstore–if the webstore offers shipping and processing to multiple countries, it would be helpful make it language- and region-specific by listing items listed in the store in varying languages and currency types.
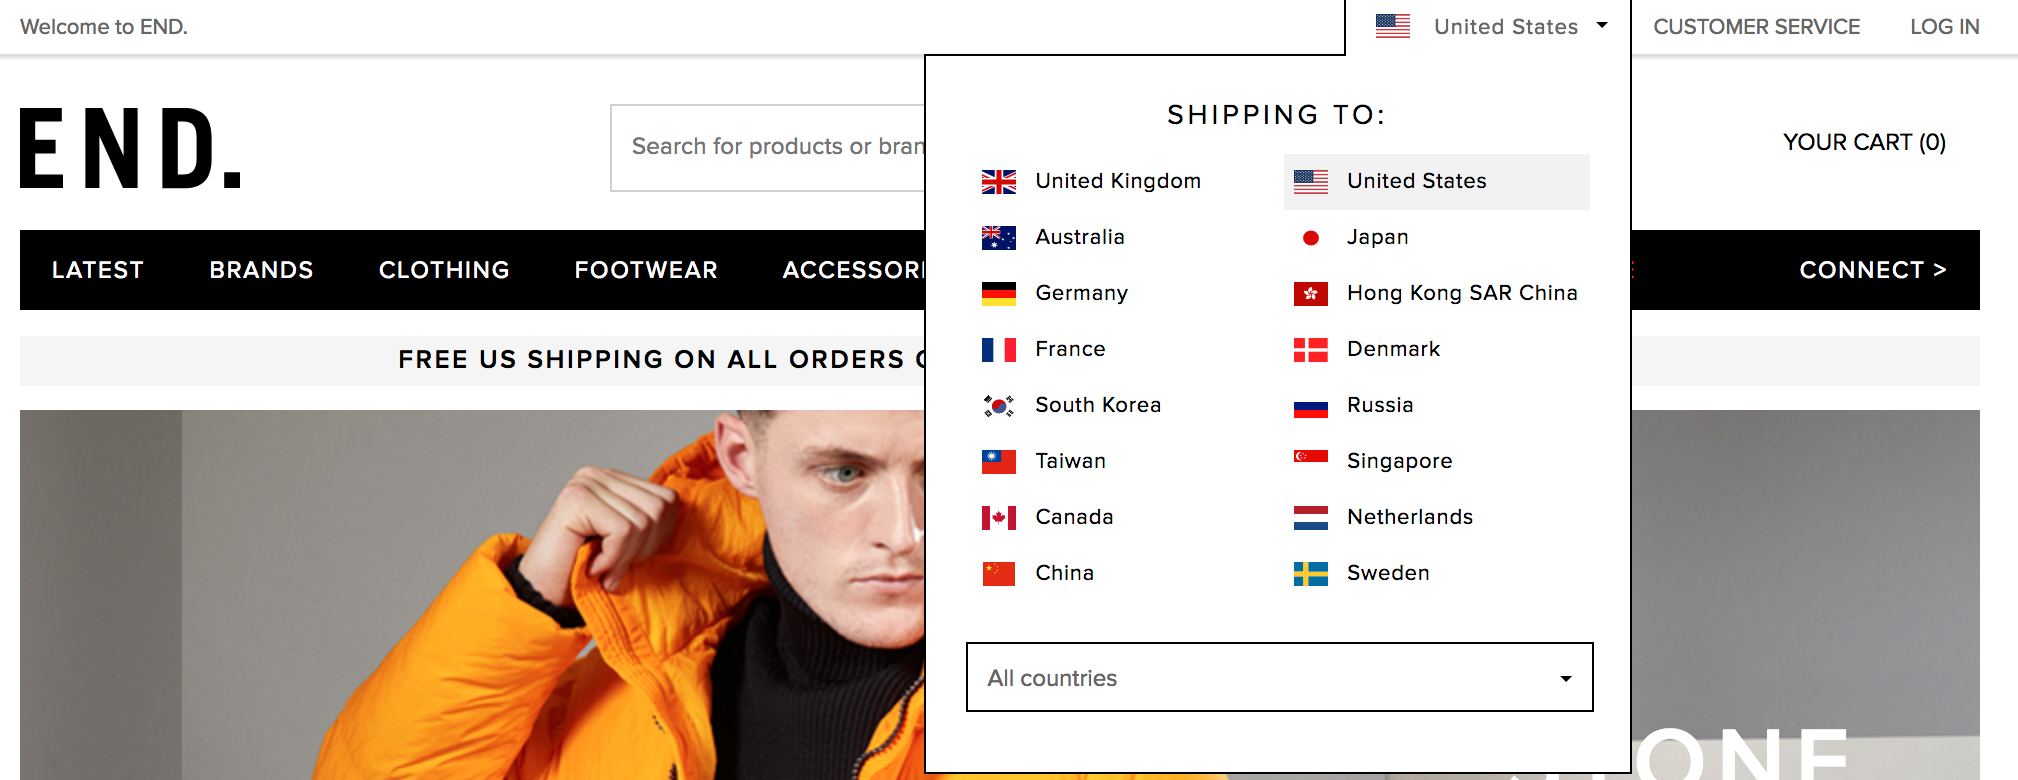
A commonly used term that describes this process is “localization”–making your website accessible in another languages, with respect to cultural nuances and differences. You may commonly see it refered to as “l10n”, because there are 10 letters between “l” and “n” in “localization”. Kind of a weird custom in my opinion, but its widespread and recognizable. Another term related to (and often used in conjunction with) “localization” is “internalization”, which is the process of setting up your website codebase in such a way that it supports easy localization. This definition is more fuzzy and big-picture, but generally that entails developing in such a way that makes coding for translations as easy and scalable as possible. “Internalization” is similarly nicknamed “i18n”, because there are 18 letters between “i” and “n”. Again, kind of a weird nickname, but hey, it works.

Luckily, Django has built-in functionality for localization and internalization that makes it simple to store, update, modify, and display translations. Let’s explore how it works!
Prerequisites/Assumptions:
- You are using OS X or Linux
- You are comfortable with using Django 1.1 with Python 2.7
- You use
condaorvirtualenv
Overview and Setup
In this tutorial, we will be creating a super simple proof-of-concept example page that will display text and have a button that users can click to toggle the text between English and Filipino. To begin, we will setup a new virtual environment using conda or virtualenv. Commands for conda:
$ conda create --name translate python=2
$ source activate translate
$ pip install Django
Commands for virtualenv:
$ virtualenv -p /usr/bin/python2.7 translate
$ source translate/bin/activate
$ pip install Django
After, we will set up the Django project and example app, where we will create our example page as described before:
$ django-admin startproject translate
$ cd translate
$ python manage.py startapp example
Now, we should have a project directory structure that looks something like this:
└── translate
    ├── db.sqlite3
    ├── manage.py
    ├── example
    │   ├── migrations
    │   │   └── __init__.py
    │   ├── templates
    │   ├── __init__.py
    │   ├── admin.py
    │   ├── apps.py
    │   ├── models.py
    │   ├── tests.py
    │   └── views.py
    └── translate
        ├── __init__.py
        ├── settings.py
        ├── urls.py
        └── wsgi.py
At this stage, we can run python manage.py runserver and navigate to http://127.0.0.1:8000/ to double-check that Django shows its default landing page.
Creating the Static Page
We will now begin creating our example page. In our templates folder, we will create a very simple html file called translation_example.html and set it up like so:
<!DOCTYPE html>

<html>

<head>
  <title>Example</title>
</head>

<body>
  Hello world!
</body>

</html>
Plain and simple. As a sneak peek ahead, we will allow users to convert Hello world! and the other paragraphs from English to Filipino or vice-versa with a click of a button.
Rendering the Page
In order to have the template we just created show up when we enter http://127.0.0.1:8000/ into our browser, we must edit three files, settings.py, urls.py and views.py, as well as create another urls.py in our example app folder.
First, we will edit settings.py to allow Django to “recognize” the template we just made. In translate/settings.py, we will add os.path.join(BASE_DIR, 'example/templates') to TEMPLATES so the end result looks like this:
TEMPLATES = [
    {
        'BACKEND': 'django.template.backends.django.DjangoTemplates',
        'DIRS': [os.path.join(BASE_DIR, 'example/templates')],
        'APP_DIRS': True,
        'OPTIONS': {
            'context_processors': [
                'django.template.context_processors.debug',
                'django.template.context_processors.request',
                'django.contrib.auth.context_processors.auth',
                'django.contrib.messages.context_processors.messages',
            ],
        },
    },
]
This will let Django know that a known directory that holds templates is at example/templates, and it will look there for any relevant templates.
After that, we will add a method to examples/views.py so we have a way for the Django Controller to communicate with the template. We will edit our views.py so it looks like this:
from django.shortcuts import render
from django.http import HttpResponse

# Create your views here.
def index(request):
    return render(request, "translation_example.html")
All our index function does is make an API call to render the html we just wrote. The function will get a bit more complex than this later, but not by much.
Next, we will create a urls.py file in examples to help with URL routing. Add the following to the urls.py file:
from django.conf.urls import url
from example import views

app_name = "example"
urlpatterns = [
    url(r'^$', views.index, name='index'),
]
Finally, we will edit translate/urls.py to accomodate that newly created examples/urls.py. Edit the translate/urls.py to look like this:
from django.conf.urls import include, url
from django.contrib import admin
import example

urlpatterns = [
    url(r'^$', include('example.urls')),
    url(r'^admin/', admin.site.urls),
]
This means that whenever a user enters http://127.0.0.1:8000/, Django will process the URL in translate/urls.py then send the URL to examples/urls.py for further processing through the include function call. In examples/urls.py, Django then calls the views.index function, which renders the translation_example.html template in our browser through the render function call.
Now, if we run python manage.py runserver and navigate to http://127.0.0.1:8000/, we will hopefully see something like

Overview to Django Translations
Now that we finished the page that we want to translate, we can actually get started understanding exactly how Django does translations.
At its core, Django’s translation uses two things for its translation functionality: hooks, and .po files. The hooks in Django are also called translation strings, which are literals on our website that we want translated. We as developers have to mark translation strings ourselves. .po files are essentially mappings of translation strings to their corresponding string in a given language. The hooks and .po files are then tied together with various things in the view. We will get to the details of everything later.
While clearly helping with localization, this setup also helps with internalization by making translations modular–due to the tags, the same templates and views can be used in other projects with different language translations without fear of conflicts, as long as the base language is the same. Making edits to the translation strings to the same project is relatively painless as well.
Translation Strings
Django provides several ways of marking strings as being translatable, but I will focus on just two today: marking in Python and marking in template code.
Marking in Python
To make a string in Python translatable, we use the function ugettext(). Conventionally, people import the function as _() to save typing, since on a website with many strings to be translated having many ugettext() function calls can make the code very bulky and cluttered.
There is also a function gettext(), but ugettext() is more useful for us because it allows for unicode support.
Making string as translatable is very simple: we just call _() with the translation string as an argument. For example,
from django.utils.translation import ugettext as _

translation_string = _("this string is can now be be translated")
untranslated string = "this string will not be picked up by Django for translation"
There is also a related fuction, ugettext_lazy(), that translates strings when they are accessed rather than when they are called. The translation itself will be done when the string is used in a string context, such as in template rendering. This is efficient when used in models.py or forms.py.
Marking in Templates
To make a string in a Django template translatable, we use the tag {% trans %}. The {% trans %} tag can translate both strings and variables:
{% load i18n %}

<p>{% trans "this string can be translated %}</p>
<p>{% trans translation_var %}</p>
You need {% load i18n %} at the top of every template with the {% trans %} tag.
As you may have guessed, {% trans %} is the template analog of ugettext().
.po Files
As discussed before, .po files are like dictionaries that pair the default language (usually English) with another language. But before we discuss the details, I think that actually having a .po file that we can look at and play around with can be beneficial. So let’s make one!
To do so, we first need to create a locale folder in examples/. This is where our .po file will eventually live. Then, we will edit settings.py again to make sure Django is set up to do translations. Make sure that
USE_I18N = True
and that you have imported ugettext_lazy:
from django.utils.translation import ugettext_lazy as _
Then, in the TEMPLATES['OPTIONS']['context_processors'] setting, add django.template.context_processors.i18n:
TEMPLATES = [
    {
        ...
        'OPTIONS': {
            'context_processors': [
                ...
                'django.template.context_processors.i18n',
            ],
        },
    },
]
Add 'django.middleware.locale.LocaleMiddleware', in the position as shown, to be able to determine a user’s language preference through the request variable:
MIDDLEWARE_CLASSES = (
    ...
    'django.contrib.sessions.middleware.SessionMiddleware',
    'django.middleware.locale.LocaleMiddleware',
    'django.middleware.common.CommonMiddleware',
    ...
)
Specify the languages we want to use:
LANGUAGES = (
    ('en-us', _('English')),
    ('tl', _('Tagalog')),
)
Make sure the language code is in English:
LANGUAGE_CODE = 'en-us'
Finally, inform Django of our example/locale directory so it knows where to put the .po file:
LOCALE_PATHS = (
    os.path.join(BASE_DIR, 'example/locale'),
)
Now we have finished setting up Django to handle translations! To create the .po file, first install gettext. In OS X (assuming you have homebrew installed:
$ brew install gettext
$ brew link gettext --force
In Ubuntu:
sudo get-apt gettext
Then, enter
$ python manage.py makemessages -l tl
Now, if you check your locale directory, you should find a LC_MESSAGES directory automatically generated inside, and inside that will be a django.po file. That’s the .po file that I’ve been talking about this entire time! Finally, we got to it! Let’s check it out. This is what the file contents should look like:
# SOME DESCRIPTIVE TITLE.
# Copyright (C) YEAR THE PACKAGE'S COPYRIGHT HOLDER
# This file is distributed under the same license as the PACKAGE package.
# FIRST AUTHOR <EMAIL@ADDRESS>, YEAR.
#
#, fuzzy
msgid ""
msgstr ""
"Project-Id-Version: PACKAGE VERSION\n"
"Report-Msgid-Bugs-To: \n"
"POT-Creation-Date: 2017-06-05 23:08+0000\n"
"PO-Revision-Date: YEAR-MO-DA HO:MI+ZONE\n"
"Last-Translator: FULL NAME <EMAIL@ADDRESS>\n"
"Language-Team: LANGUAGE <LL@li.org>\n"
"Language: \n"
"MIME-Version: 1.0\n"
"Content-Type: text/plain; charset=UTF-8\n"
"Contaent-Transfer-Encoding: 8bit\n"

#: translate/settings.py:120
msgid "English"
msgstr ""

#: translate/settings.py:121
msgid "Tagalog"
msgstr ""
The first half is just a template of administrative details, usually intended for the translators to fill out. The core of the file is in the second half:
#: translate/settings.py:120
msgid "English"
msgstr ""

#: translate/settings.py:121
msgid "Tagalog"
msgstr ""
msgid is short for “message id”, and that is the translation string that Django will search for in views, models, templates, forms, etc. when making translations. msgstr is short for “message string” and it is the msgid translated into the alternate language. Each msgid/msgstr block of code can be seen as a key-value pair in a dictionary, where Django searches the project for keys (msgid) that it can replace with values (msgstr). The msgstr values need to be filled out by hand, and usually there will be a translator (human or Google) that can help with that. Be careful! In this case, line breaks matter, as an extra line break may mean messed up msgid/msgstr pairs and thus messed up translations.
Now, lets try marking strings in translation_example.html for translation, like so:
{% load i18n %}

<!DOCTYPE html>

<html>

<head>
  <!-- Current language:  -->
  <title>Example</title>
</head>

<body>
  {% trans "Hello world!" %}
</body>

</html>
Make sure to add {% load i18n %} at the top of the page as well as the <!-- Current language: --> comment.
Then, enter
$ python manage.py makemessages -l tl
again.
If you check your django.po file now, you will see an extra block of code:
#: example/templates/translation_example.html:13
msgid "Hello world!"
msgstr ""
Django automatically identified the string to be translated, and updated django.po to reflect that!
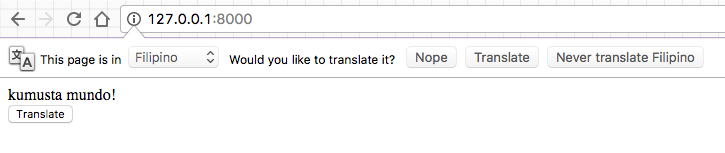
We can then fill out the appropriate translation for Hello World! in Filipino, which is Kumusta mundo!.
#: example/templates/translation_example.html:13
msgid "Hello world!"
msgstr "Kumusta mundo!"
Next, to be able to see the translation, we will add a button we can click to toggle the translation. Update translate_example.html such that it looks like this:
{% load i18n %}

<!DOCTYPE html>

<html>

<head>
  <title>Example</title>
</head>

<body>
<!-- Current language:  -->
  {% trans "Hello world!" %}

  <form action="{% url 'example:index' %}" method="post">
    {% csrf_token %}
    <input type="submit" value="Translate" />
  </form>
</body>

</html>
We used a <form> tag to create a HTML submit button that makes a POST request to example:index URL, which Django will redirect to the index view function in the example app. That means we will need to edit our views.py to provide the appropriate response to the POST request.
from django.shortcuts import render
from django.http import HttpResponse, HttpResponseRedirect
from django.utils.translation import LANGUAGE_SESSION_KEY
from django.utils import translation

from .forms import ChangeLanguage

# Create your views here.
def index(request):
    # if this is a POST request we need to switch the language
    if request.method == 'POST':
        request = switch_language(request)
    # if a GET (or any other method) we'll generate the page in English
    else:
        request.session[LANGUAGE_SESSION_KEY] = "en"
        translation.activate("en")

    return render(request, "translation_example.html")

def switch_language(request):
    """
    Switch the LANGUAGE_SESSION_KEY in request object from 'tl' to 'en' or 'en' to 'tl'

    Args:
        request (obj) : HttpRequest object

    Returns:
        The request object with its LANGUAGE_SESSION_KEY switched to whichever language was not used
    """
    if request.session[LANGUAGE_SESSION_KEY] == "tl":
        request.session[LANGUAGE_SESSION_KEY] = "en"
        translation.activate("en")
    elif request.session[LANGUAGE_SESSION_KEY] == "en":
        request.session[LANGUAGE_SESSION_KEY] = "tl"
        translation.activate("tl")

    return request
To alter the language currently displayed, we will change request.session by setting the LANGUAGE_SESSION_KEY to either "tl" or "en". The switch_language helper function is just used to switch between "en" and "tl". In the index, we added some logic control–if the request we recieved was a POST request (i.e. the user pressed the ‘Translate’ button) we will alter the request LANGUAGE_SESSION_KEY by calling switch_language. Otherwise, we will use the default "en" language. Finaly, after editing the request object, we will still return render(request, "translation_example.html") as before.
We are almost there! Finally, run
django-admin compilemessages
This will turn the translation file into a more Django-friendly byte file. When you run the server using python manage.py runserver, you should see this page:
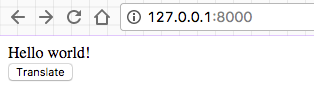
If you hit the “Translate” button, “Hello world!” should be translated!
Step 7: Wrap Up and Summary
The button we hit sends a POST request that is redirected using Django’s URL dispatchers to the views.index function. The function then detects that the request sent was a post, so it changes the request language parameters. With the language parameter changed Django then fills in all the {% trans %} tags with the respective translations from the .po file. That way, you can toggle the language on your webpage!
With this foundation, you can expand the localization capabilities of your website by adding multiple languages that users can select from a dropdown menu. Since Django is designed to be modular, having multiple .po files is no problem!